SCCM 2012 Current Branch- Important to Know !!

In this article We will see the Four Important things.

  1. What makes a Site the below Screen showed you the Default Roles that will automatically install while installing the SCCM and The Other is Optional Roles that we can install afterwards also.

Capture3

2) Scalability Limits for SCCM

SCCM Can Support Client

3)What Makes a Central Administration Site and Why we require CAS and Use of CAS.

Capture

4) SCCM Availability Considerations these five component is more important to maintains.

Capture2

SCCM 1806 Hotfix (KB4346645) Upgrade Installation .

In this article We will install the SCCM 1806 Hotfix (KB4346645) on Current branch.

Go to SCCM Console>Administration> Updates and Servicing the release date 24/08/2018

you can check the microsoft link to see the fixes

https://support.microsoft.com/en-us/help/4346645/update-for-system-center-configuration-manager-version-1806-first-wave

Screenshot_1

Select the hotfix and click on Run Prerequisite Check and you can see the status on monitoring

Screenshot_2

Once you done with Prerequisite check . You can click on Install Update Pack and Click Next

Screenshot_5

Click Next with upgrade without Validating.

Screenshot_6

Accept the license and click Next

Screenshot_7

Check Summary and Click Next

Screenshot_8

You will get the successfully install and Close it now.

Screenshot_3

Now you can monitor from monitoring tab.

Screenshot_4

once the installation done you can see the Hotfix installed in updates and Servicing.

Screenshot_9


SCCM 1806-To Create Pre-Staged Content File for Distribution Points.

In this article we will create Pre-staged Content File for another Distribution Points.

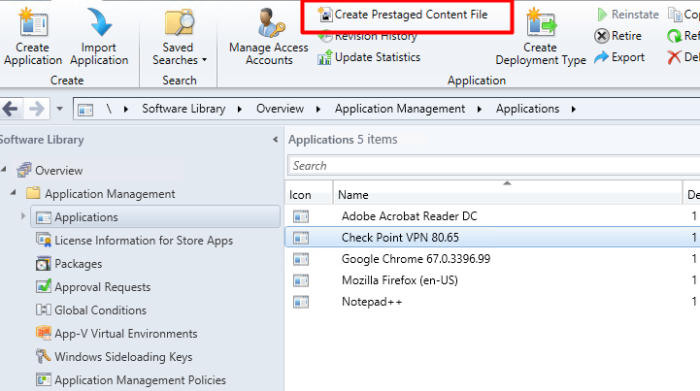
Go to SCCM Console and Go to Software Library >Application Management>Application

and select the application which you want to create Pre-staged content file.

Screenshot_12

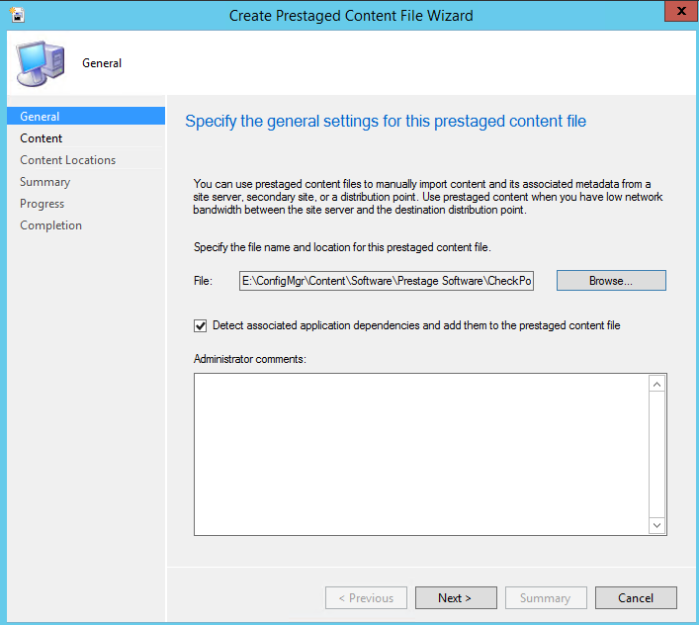
Click on Browse and Save the file on Network location and Click Next

Screenshot_3

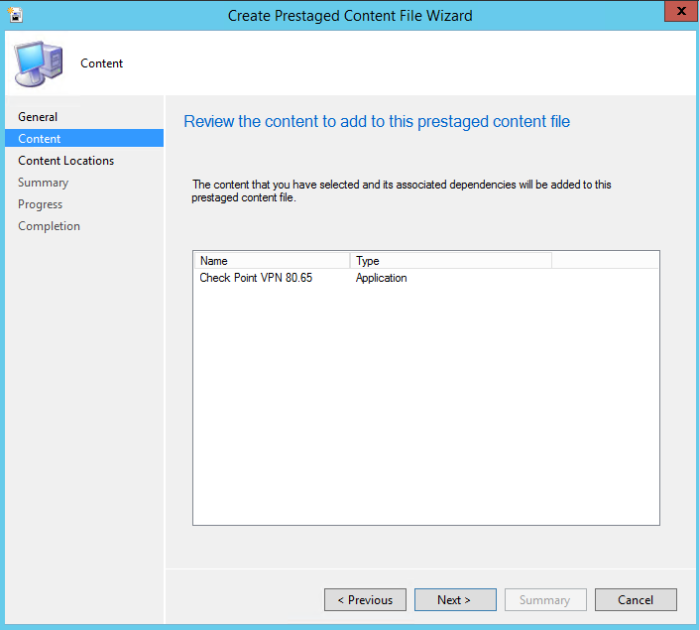
Validate the content and Click Next

Screenshot_4

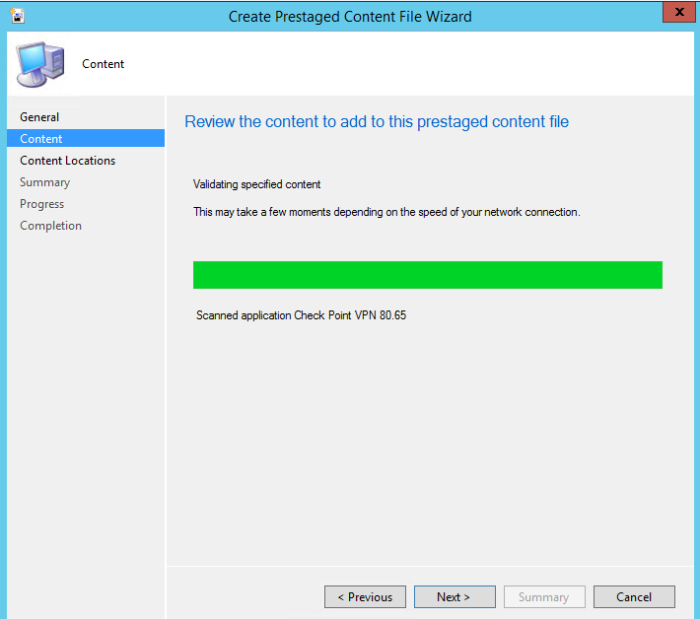
Once validation done Click Next.

Screenshot_5

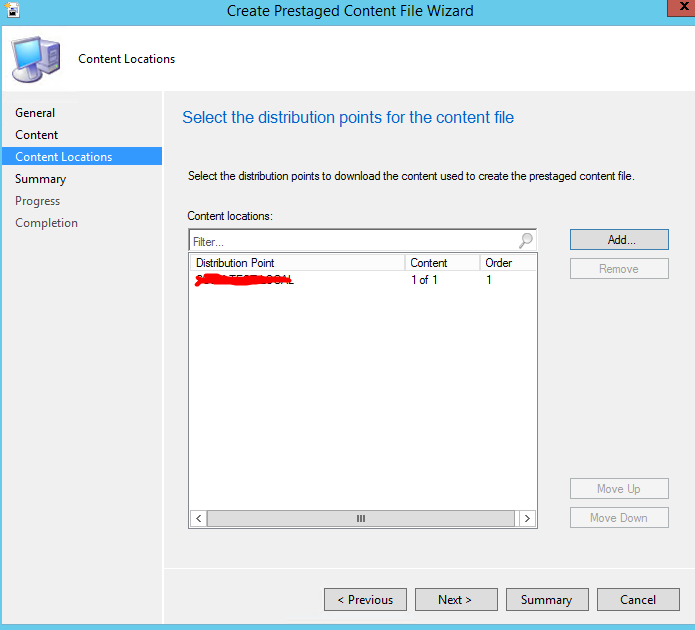
Select the Distribution Point that content the file and Click Next

Screenshot_6

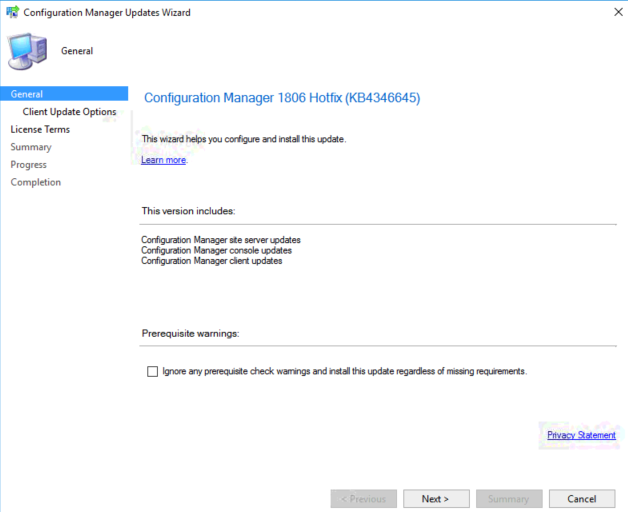
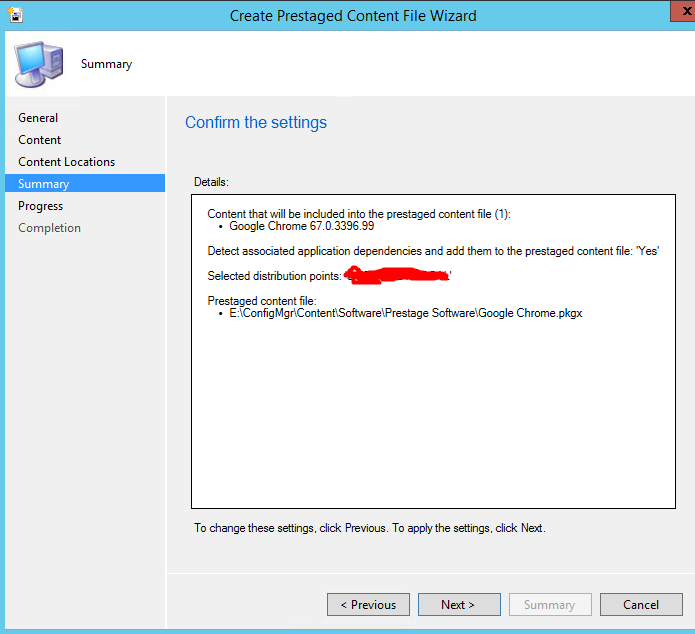
See the Summary and Click Next.

Screenshot_7

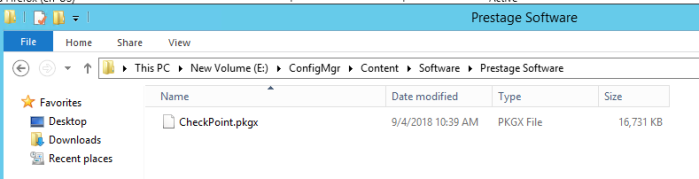
Successfully Create the Checkpoint.PKGX file . Close it.

Screenshot_8

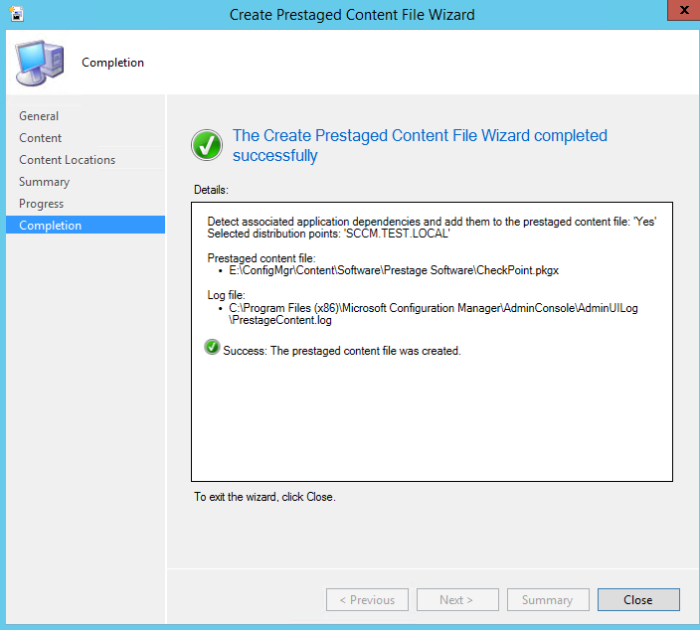
You will see the PKGX file created on given path. Now we need to login on another Distribution point to extract this file. You can copy this in USB and run there also.

Screenshot_9

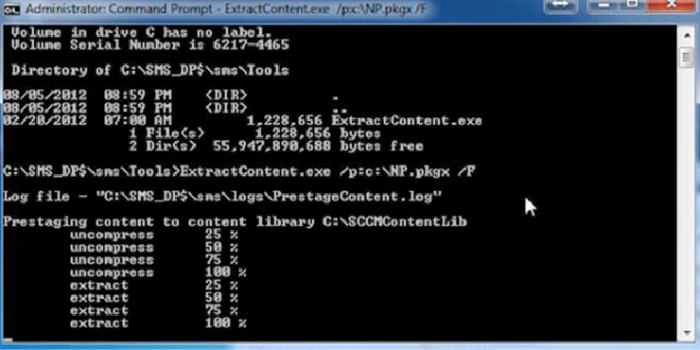
once you login on another Distribution point . You can copy the file and run this command locally . It will extract the file and content will be available on your Distribution point afterwards.

Screenshot_11