SCCM 2012 Current Branch- Important to Know !!

In this article We will see the Four Important things.

  1. What makes a Site the below Screen showed you the Default Roles that will automatically install while installing the SCCM and The Other is Optional Roles that we can install afterwards also.

Capture3

2) Scalability Limits for SCCM

SCCM Can Support Client

3)What Makes a Central Administration Site and Why we require CAS and Use of CAS.

Capture

4) SCCM Availability Considerations these five component is more important to maintains.

Capture2

SCCM 1806 Hotfix (KB4346645) Upgrade Installation .

In this article We will install the SCCM 1806 Hotfix (KB4346645) on Current branch.

Go to SCCM Console>Administration> Updates and Servicing the release date 24/08/2018

you can check the microsoft link to see the fixes

https://support.microsoft.com/en-us/help/4346645/update-for-system-center-configuration-manager-version-1806-first-wave

Screenshot_1

Select the hotfix and click on Run Prerequisite Check and you can see the status on monitoring

Screenshot_2

Once you done with Prerequisite check . You can click on Install Update Pack and Click Next

Screenshot_5

Click Next with upgrade without Validating.

Screenshot_6

Accept the license and click Next

Screenshot_7

Check Summary and Click Next

Screenshot_8

You will get the successfully install and Close it now.

Screenshot_3

Now you can monitor from monitoring tab.

Screenshot_4

once the installation done you can see the Hotfix installed in updates and Servicing.

Screenshot_9


SCCM 1806-To Create Pre-Staged Content File for Distribution Points.

In this article we will create Pre-staged Content File for another Distribution Points.

Go to SCCM Console and Go to Software Library >Application Management>Application

and select the application which you want to create Pre-staged content file.

Screenshot_12

Click on Browse and Save the file on Network location and Click Next

Screenshot_3

Validate the content and Click Next

Screenshot_4

Once validation done Click Next.

Screenshot_5

Select the Distribution Point that content the file and Click Next

Screenshot_6

See the Summary and Click Next.

Screenshot_7

Successfully Create the Checkpoint.PKGX file . Close it.

Screenshot_8

You will see the PKGX file created on given path. Now we need to login on another Distribution point to extract this file. You can copy this in USB and run there also.

Screenshot_9

once you login on another Distribution point . You can copy the file and run this command locally . It will extract the file and content will be available on your Distribution point afterwards.

Screenshot_11

SCCM 1806- Enable PKI on Configuration manager.

In this article we will enable PKI feature in SCCM

Open Certificate Authority and Create a New Certificate Templates.

Screenshot_1

Right Click and Click on Manage.

Screenshot_2

Right click on Web Server and Click on Duplicate Template

Screenshot_3

Set the template name and Click Apply and OK

Screenshot_4

then Click on Workstation Authentication and Duplicate Template

Screenshot_5

Set the Name SCCM DP Cert and Select Validity Period and then

Screenshot_6

Click on Request Handling and Select Allow Private Key to be exported. Click Apply and OK.

Screenshot_7

Again Duplicate the Workstation Authentication.

Screenshot_5

Name it as SCCM Client Cert and Click Apply and OK.

Screenshot_8

Once you did that you need to enable this GPO Settings and Link this to Client.

Screenshot_14.png

Now open SCCM >Go to Administrators>Site Configuration>Sites> Select Site and Go to Properties.

Under Client Computer Communication Select HTTPS or HTTP and User PKI Client Certificate.

Screenshot_10

In the SCCM Servers and Site System Roles Go to Distribution Point Properties. Enable the HTTPS.

And Import PKI certificate.

Screenshot_11

Enable the Management Point properties HTTPS also.

Screenshot_12

And at the end you can enable the Software update point properties to use 8531 also require SSL Communication to the WSUS Server. Before you enable this setting . We need to set the Require SSL under IIS Manager for WSUS.

Screenshot_13


SCCM 1806 : How to Configure SCCM to user HTTPS\PKI Certificate

In Order to configure HTTPS\PKI Certificate . We need to install the Role

Go to Server Manager>Click on Manage>Click on Add Roles and Features> Then Select the Certification Authority and Install it.

Screenshot_13

Once you install this case We need to configure it also . Launch the Configuration for AD CS Configuration.Click Next with your Credential.

Screenshot_1

Click Next

Screenshot_3

Select the Enterprise CA and Click Next

Screenshot_4

Select the Root CA and Click Next.

Screenshot_5

Create a New Private Key and Select Next

Screenshot_6

Keep it default and click Next

Screenshot_7

Keep as default and Click Next

Screenshot_8

Set the validity and Click Next

Screenshot_9

Click Next on Below.

Screenshot_10

Click On Configure

Screenshot_11

And the Installation and Configuration of the AD CS Roles are done next article we will see how to Define Certificate authority for SCCM Server.

Screenshot_12

SCCM 1806 – Creating New Unattend Answer file and Make Package for Task Sequence.

In this article we will see how to create New unattend answer file for Windows 10 .

Open

Screenshot_12

Select the Wim File. Which you want to get an answer file.

Screenshot_1

Right Click and select New Answer File.

Screenshot_2

Go to Under component select Windows International Core and Add setting to Pass 4 Specialize.

Screenshot_3

Enter the language like “en-IN” and Save this file as unattend.xml .

Screenshot_13

Now we will create a SCCM Package and link this with Task sequence and click Next

Screenshot_4

Select Do not create Program and Click Next

Screenshot_5

Check the summary and click Next

Screenshot_6

Close it Now.

Screenshot_7

Distribute it now.

Screenshot_8

Click Next

Screenshot_9

Close it now.

Screenshot_11

Now open the Task Sequence and select this unttend.xml file in Apply Operating System steps.

Screenshot_14.png


SCCM 1806 -Creating Software Metering and Rules properties.

In this Article we will create Software metering for Notepad+

Go to Assets and compliance and Click on Software Metering rule and Create new rule.

Screenshot_4

Name the Software and Select the Setup.exe . Click Next

Screenshot_1

Check the Summary and Click Next

Screenshot_2

You will see the below screen once the creation done .

Screenshot_3

Now you can select the Notepad++ and Check the software metering properties also.

Screenshot_5.png

SCCM 1806 OSD- Task Sequence Variable Test Deployment.

In this article we will see how to perform Task sequence Variable test deployment.

Create a New custom task sequence

Screenshot_1

Specify the Name of the task sequence and Select boot image click Next

Screenshot_2

Check Summary and click Next

Screenshot_3

Once it finished close it

Screenshot_4

Select the task sequence and edit it put the command line.

“tools\x64\ServiceUI.exe” -process:TSProgressUI.exe C:\Windows\System32\cmd.exe

Screenshot_5

Now we will deploy it

Screenshot_6

Select the collection and Click Next

Screenshot_8

Make the Task sequence available for test Windows 10 clients and Click Next

Screenshot_9

Click Next

Screenshot_13

Click on Close and then You can login on Client to see the deployment.

Screenshot_14

Login on Client then you will see the task sequence appears.

Screenshot_15.png


SCCM 1806- To Cleanup Ccmcache via Configuration Baselines.

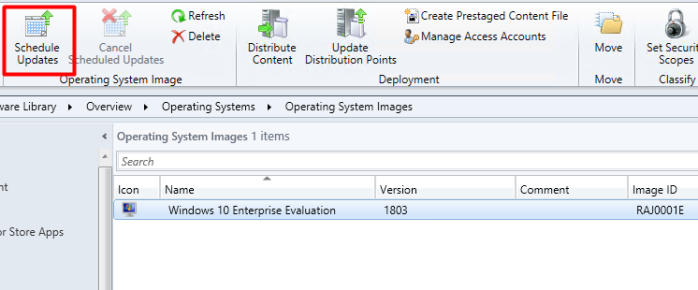
In this article we will create configuration item and Configuration baselines for CCM Cache cleanup

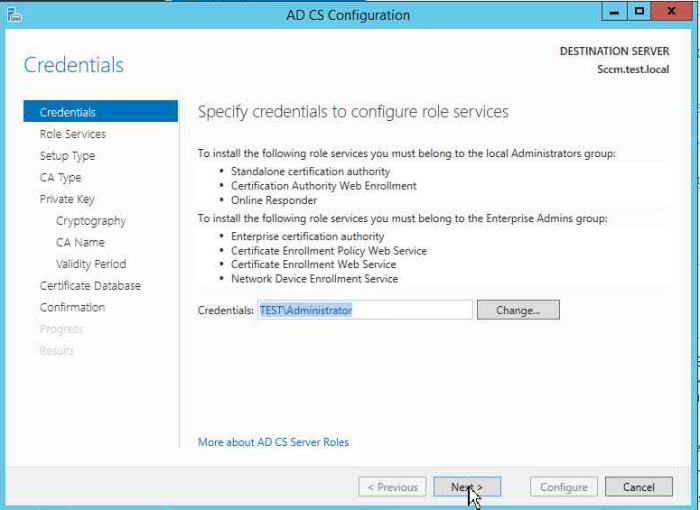
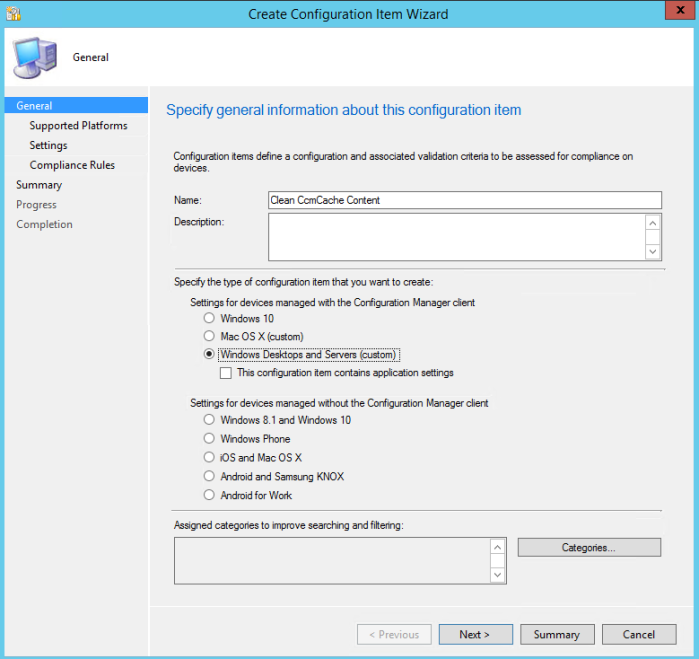
launch SCCM console –>go to Assets and compliance—right click on Configuration Items—create Configuration Item

Screenshot_1

Name the Configuration item and select Windows Desktop and Sever(Custom) and Click Next

Screenshot_2

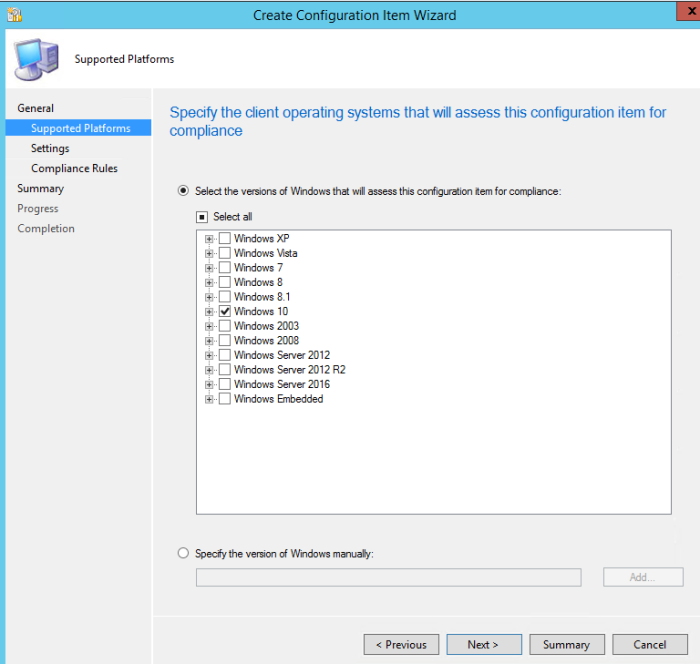
Select windows 10 and click Next

Screenshot_3

Click on New

Screenshot_4

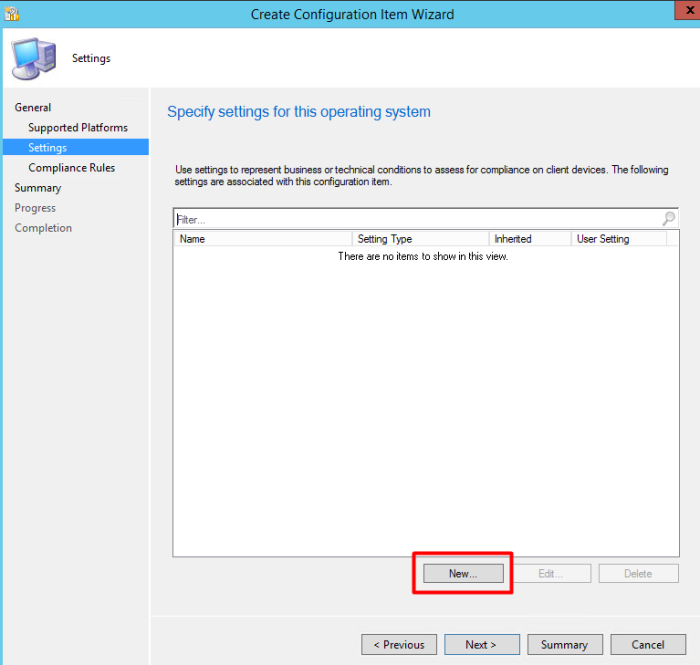
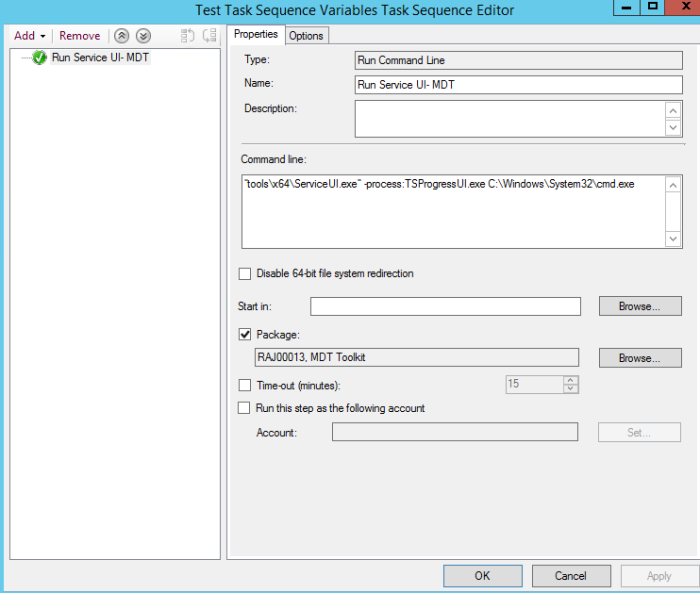
Provide name and Select setting type>Script and Data type>String> Click on Edit Script.

Screenshot_5

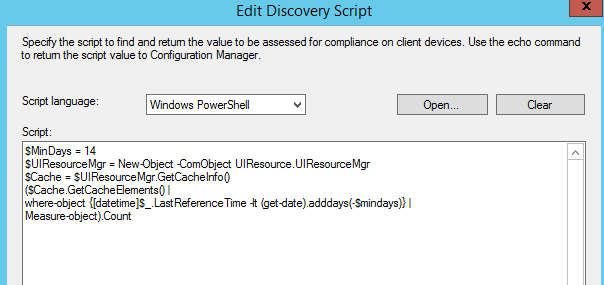
Edit Discovery Script and mention this script and Click ok

Screenshot_6

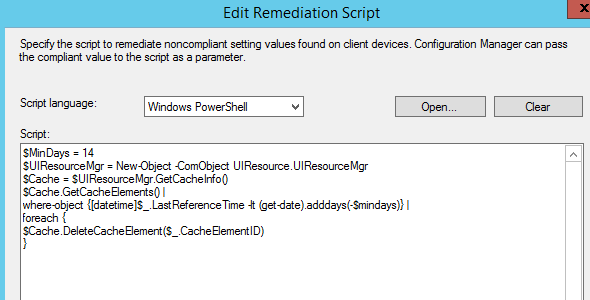
Click on Remediation Script and select this script. Click Ok

Screenshot_7

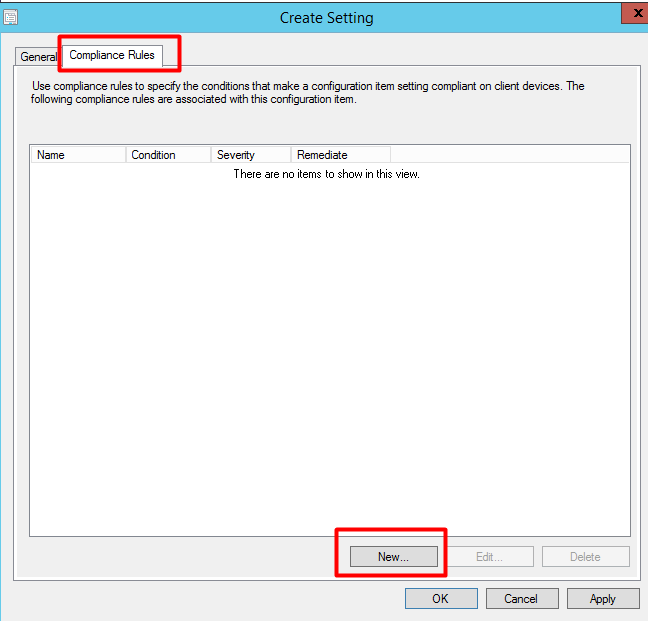
Click on Compliance Rules and click New

Screenshot_8

Specify the setting below. and click ok

Screenshot_9

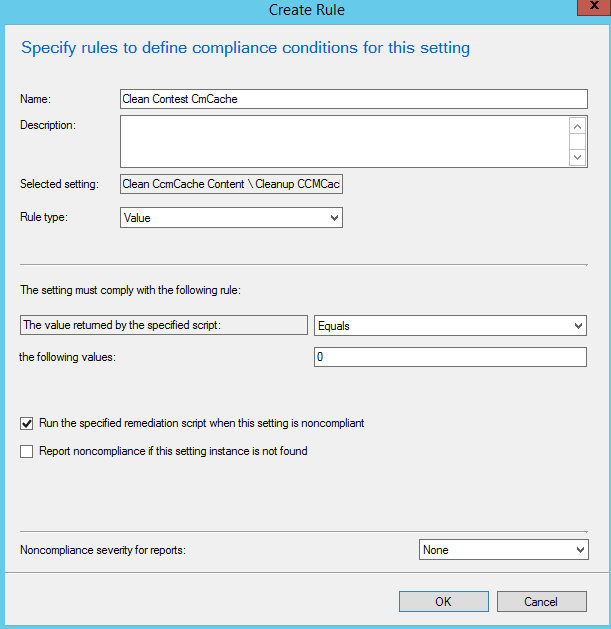
You will see the below Compliance Setting

Screenshot_10

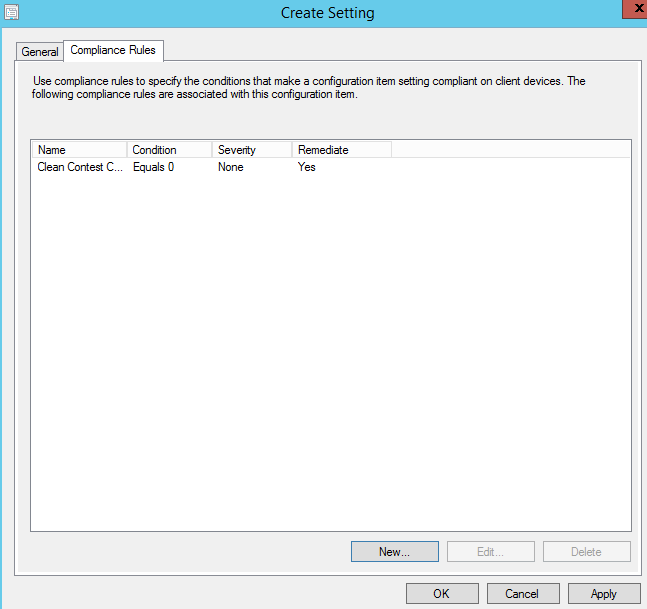
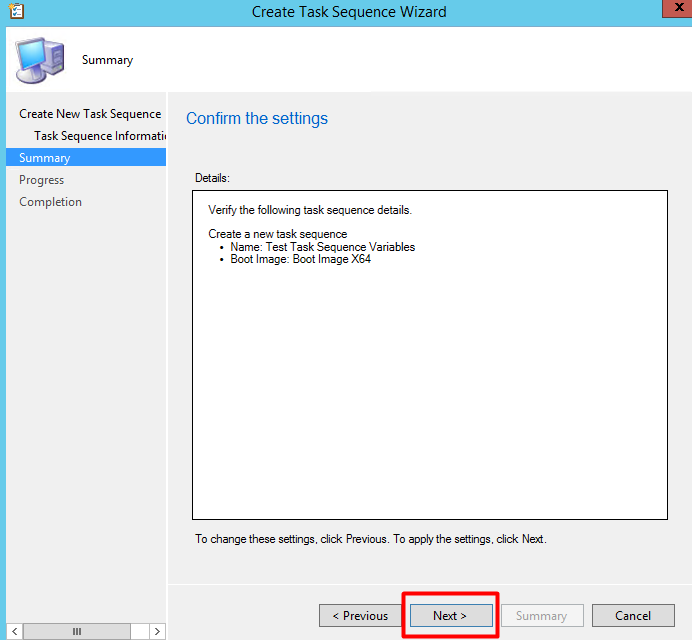
Click Apply and Ok and Click on Next

Screenshot_11

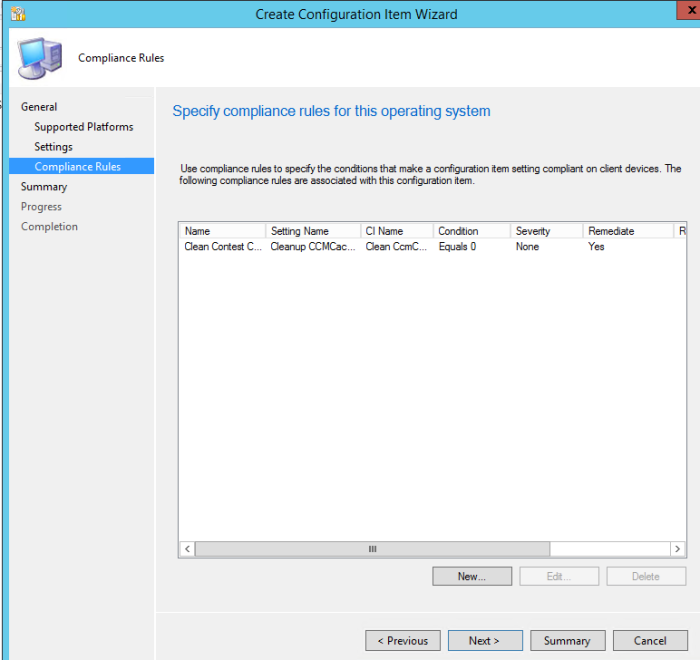
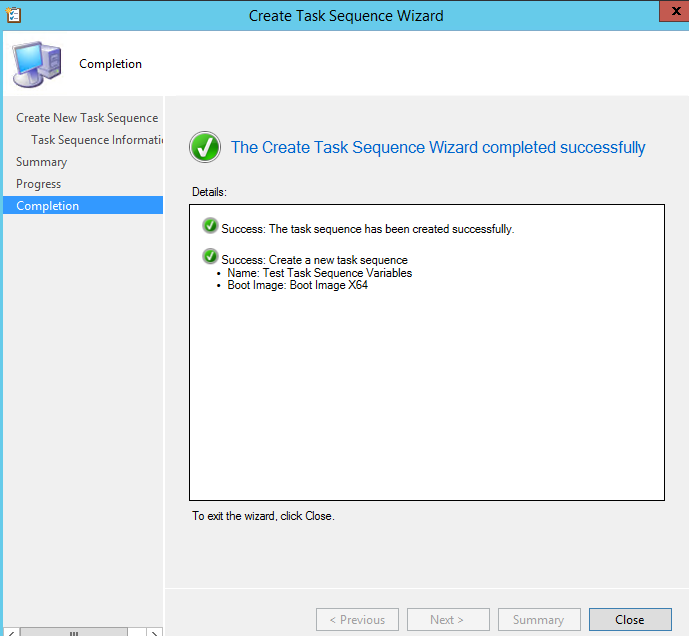
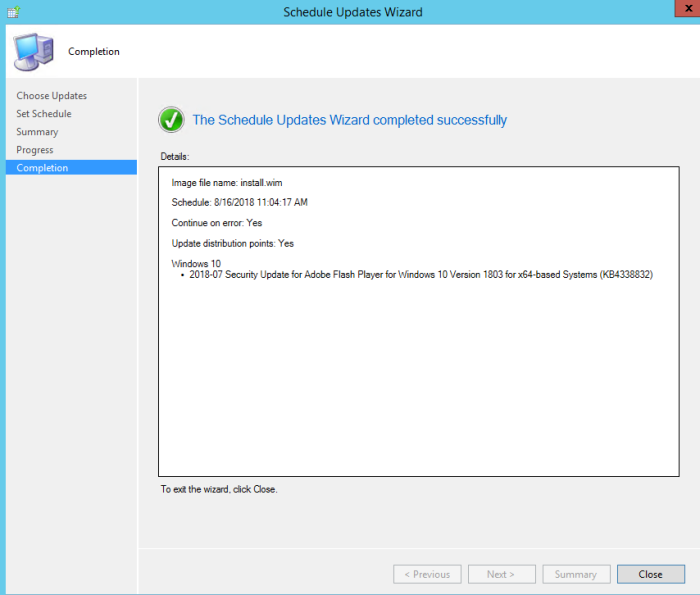
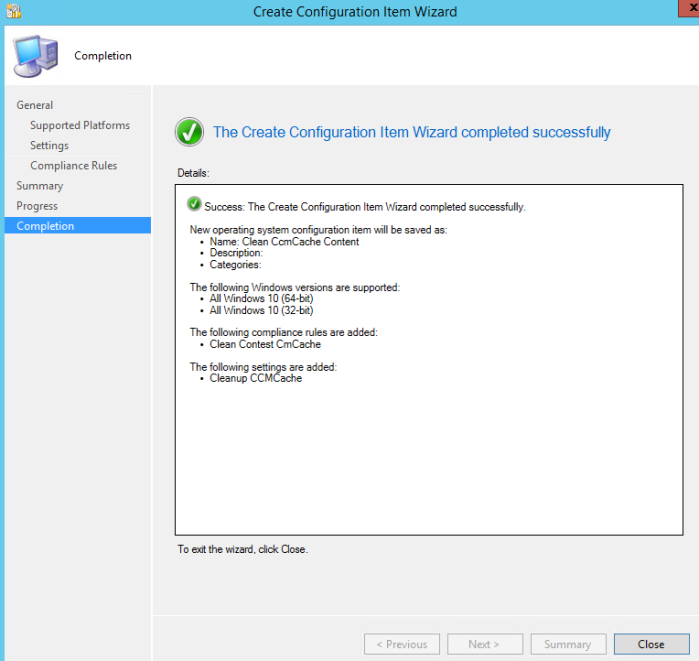
The Configuration Item has been successfully created.

Screenshot_12

Now we will create Configuration Baselines

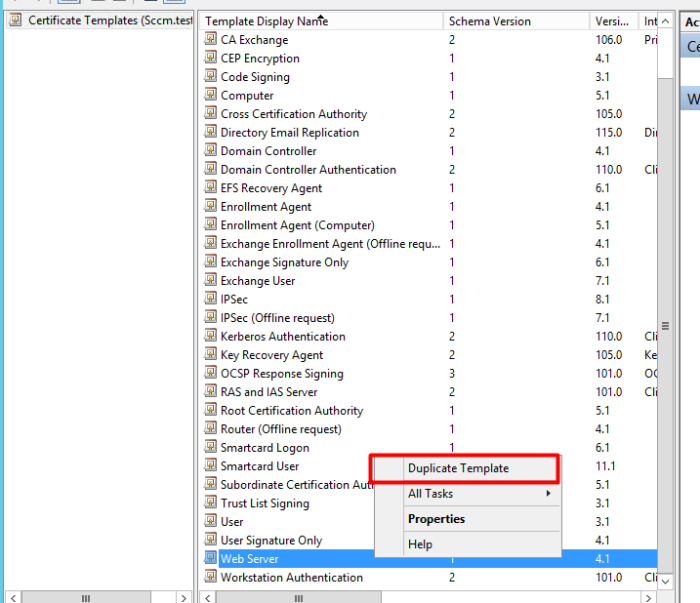
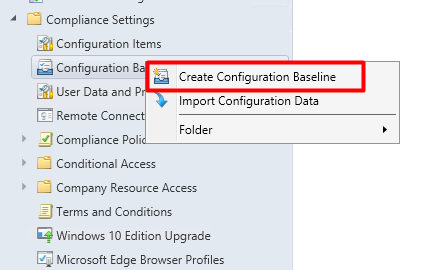
Right click on Configuration Baseline and select Create configuration Baseline

Screenshot_13

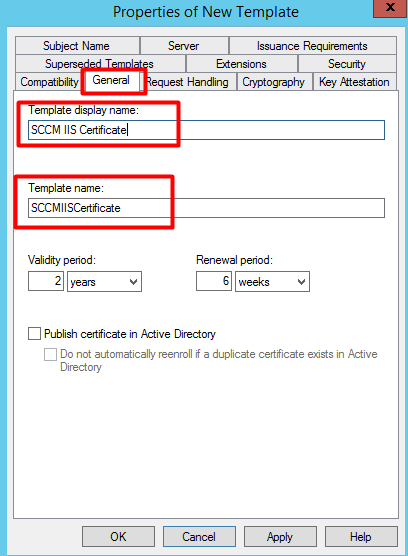
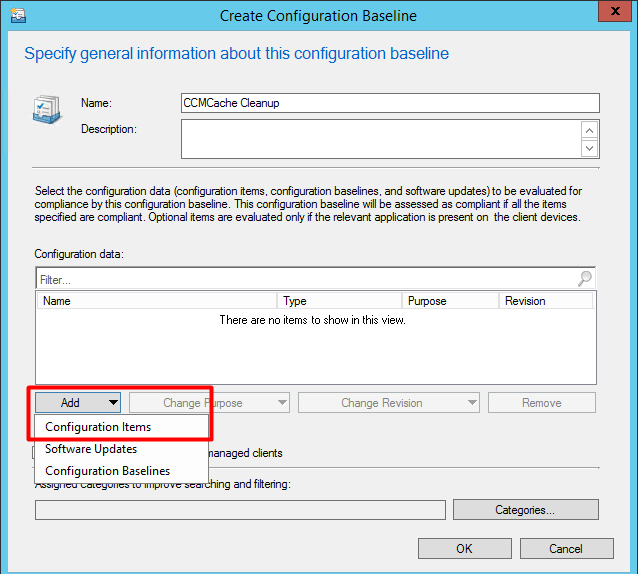
Give a Name,description and click on Add Configuration Item

Screenshot_14

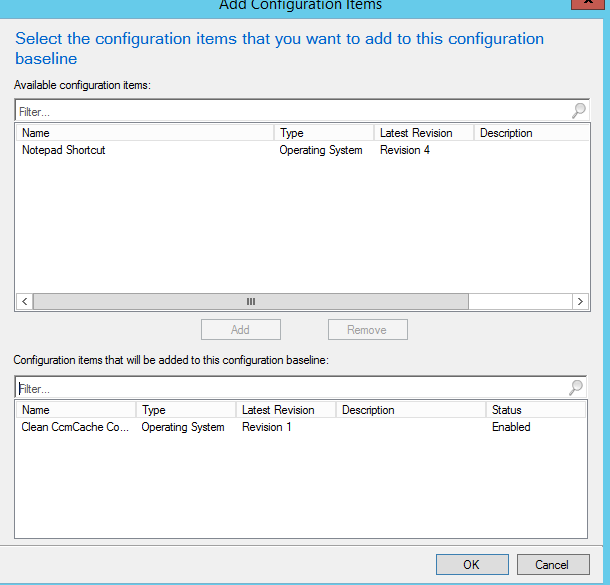
Select the configuration item and Click on Add and Click Ok

Screenshot_16

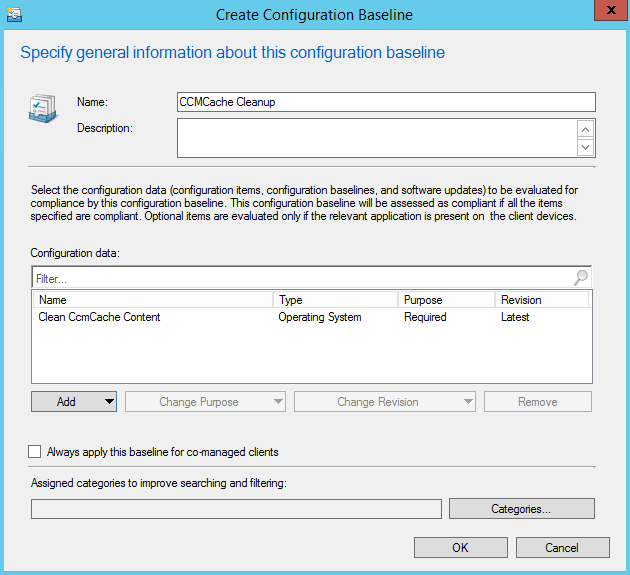
Click Ok and Now we will deploy this baseline on windows 10 collection.

Screenshot_17

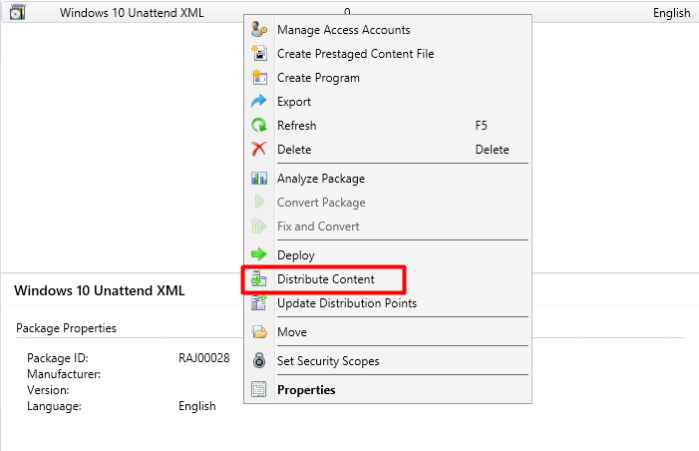
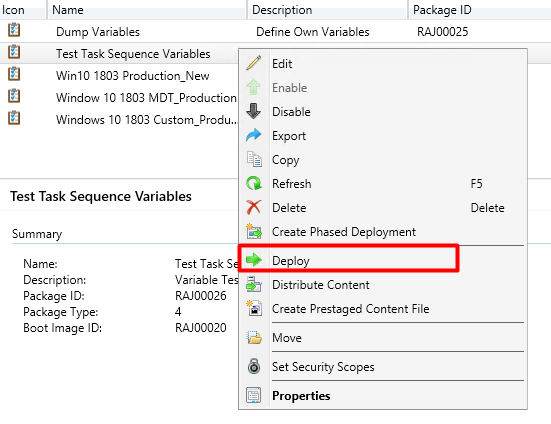
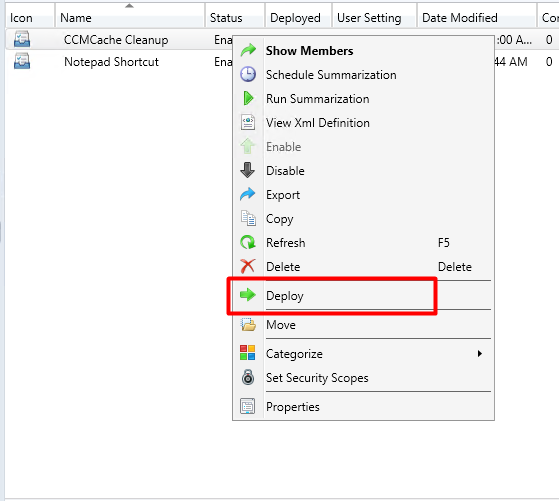
Select the CCMCache Cleanup and Click on Deploy

Screenshot_18

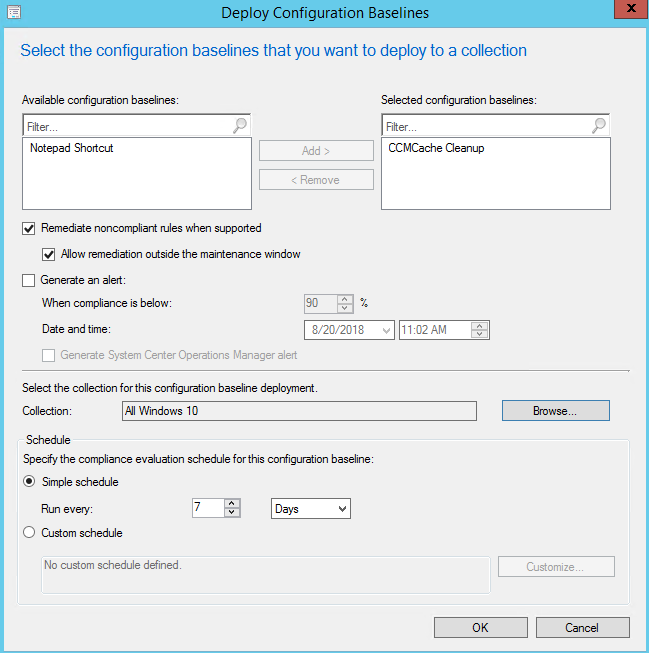
Select the ccmcache Cleanup and Click on Add and Select the Remediate non Complaint rules when supported and Allow remediation outside the maintenance window

Select the collection for this configuration baseline deployment and Click Ok

Screenshot_19


SCCM 1806- Schedule Windows Update Directly on Operating System Image File.

In this article we will see how to schedule updates for Operating system images directly and it will get that updates during OSD deployment.

Open SCCM Console>Go to Software Library> click on Operating System Images

Screenshot_1

Select the Operating System Image and Click on Schedule Updates in the Ribbon.

Screenshot_2

Select the update and Click Next

Screenshot_3

You can specify the update schedule and Click Next

Screenshot_4

Check the Summary and Click Next.

Screenshot_5

You will see the progress status

Screenshot_6

Once the Schedule updates wizard completed you will see the below screen. Click on Close.

Screenshot_7